
By Alex Brazeau
Hi there Macstock-ers!
 Alex Brazeau here, from the Corel Photo team. As you’ve probably heard by now, Corel has partnered with Macstock 2015 as the Official Photography Sponsor of this year’s expo. We’re incredibly excited to be part of the first-ever Macstock conference and we wanted celebrate by bringing you more than just the standard swag-bag goodies. So, instead, it’s our pleasure to offer the first 200 registered attendees their very own, complimentary version of Corel AfterShot—a $40 value—FREE! And, to help get you acquainted with this exceptionally powerful photo software, we’re also bringing you a 4-part series here on the blog to get you started with AfterShot.
What is AfterShot?
Corel AfterShot is an ambitious effort to change the way we work with our photos. Built for the post-Aperture world, AfterShot is designed to be a faster, easier and more flexible to work with photos—especially in RAW (learn more about RAW vs. JPEG), where performance counts–and AfterShot offers lots.
AfterShot is designed to help you organize, edit, and output your photos in one lightweight, time saving package. You can work with individual photos or tap into powerful and flexible multi-image processing. AfterShot is completely non-destructive, which means your original image files are always safe. You can use AfterShot on its own, or with your favorite image editing software.
Why use AfterShot over other photo software?
AfterShot’s big brother, AfterShot Pro, was born as a professional photo workflow tool designed to give photographers faster ways to handle all the photo-adjustment activities that occur between the initial image capture and the final photo output. This isn’t about “pixel editing” as we know it in Photoshop, nor is it about the simpler edits possible in iPhoto. AfterShot is designed to help photographers deal with the vast number of photos they are shooting—whether they’re shooting a few hundred while away for a weekend, or out on a professional shoot and shooting thousands. Everything you find in AfterShot is designed to make your photo workflow faster, and it’s done with industry-leading performance, along with a toolset that’s intuitive and—darn it—just plain old enjoyable.
Getting Started
AfterShot makes it really easy to manage large photo collections and make quick adjustments to help you get the most out of every photo. It supports both catalogs (like Lightroom) and file system views of your photos –giving you unprecedented flexibility to work with your photos.
Here’s a quick primer on getting started with AfterShot. Ready? Let’s go.
Opening AfterShot & Navigating Your Photos
When you first open AfterShot 2, you’ll see a screen similar to the one below on your monitor.
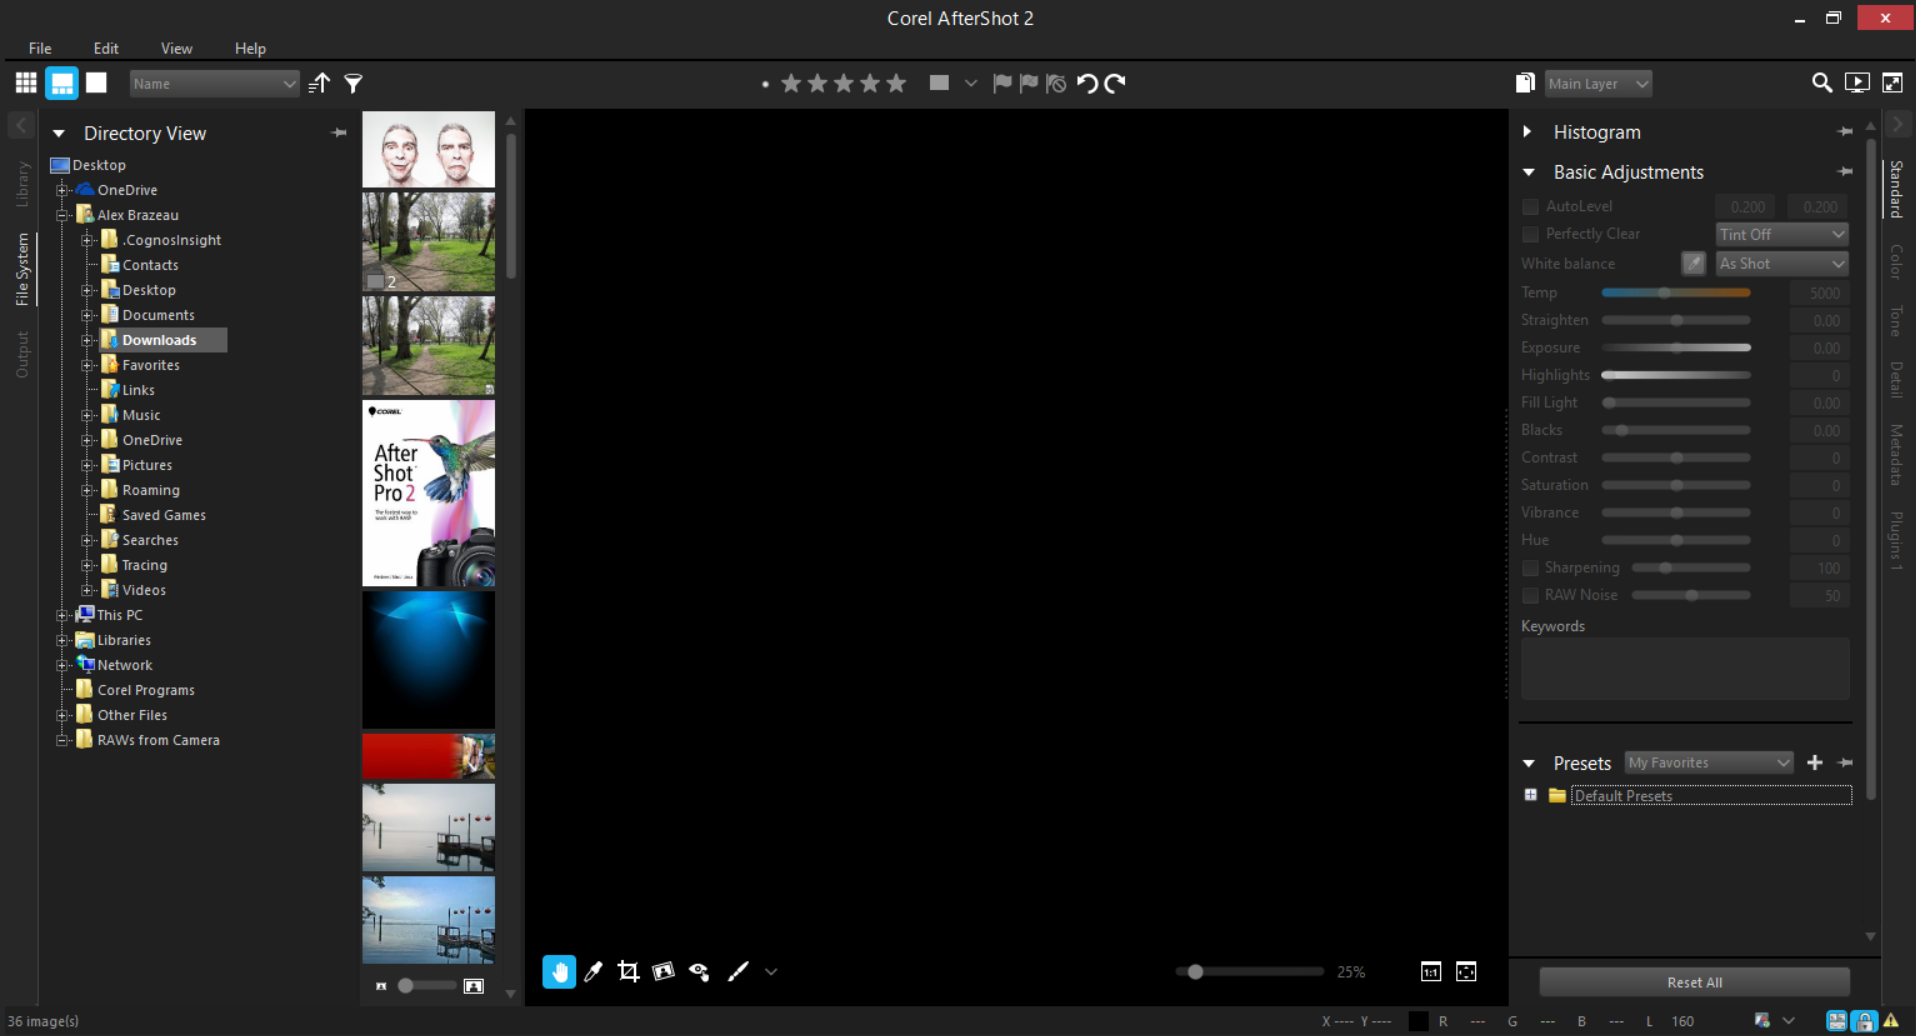
The main AfterShot window you’ll see after opening the program.
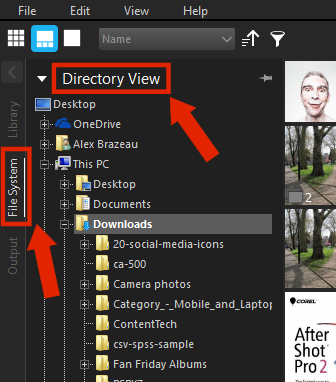
To find your photos, select File System, then Directory View and the Thumbnails will appear on the right.
To start finding your photos in AfterShot, click the File System tab on the left, then navigate to the folder holding your pictures in Directory view. Once you’ve clicked a folder, all the photos from that location are displayed as thumbnails in the Thumbnail panel just to the right of the file tree.
Like Lightroom, you can work from a library, but we’ll talk about that in an upcoming post.
Selecting & Editing Photos
For now, here’s a quick look at how to work with your photos. First, you’ll need to select a photo to work with in the Thumbnail panel. After you’ve chosen a photo and clicked on it, a much larger version will appear in the Preview panel to the right, as seen below.
With a photo selected, you can now start to make your adjustments. Remember, AfterShot is non-destructive so the original (master) file is never altered when you edit a photo—edit information is saved separately and what you see onscreen is a preview of the master version with your edits applied.
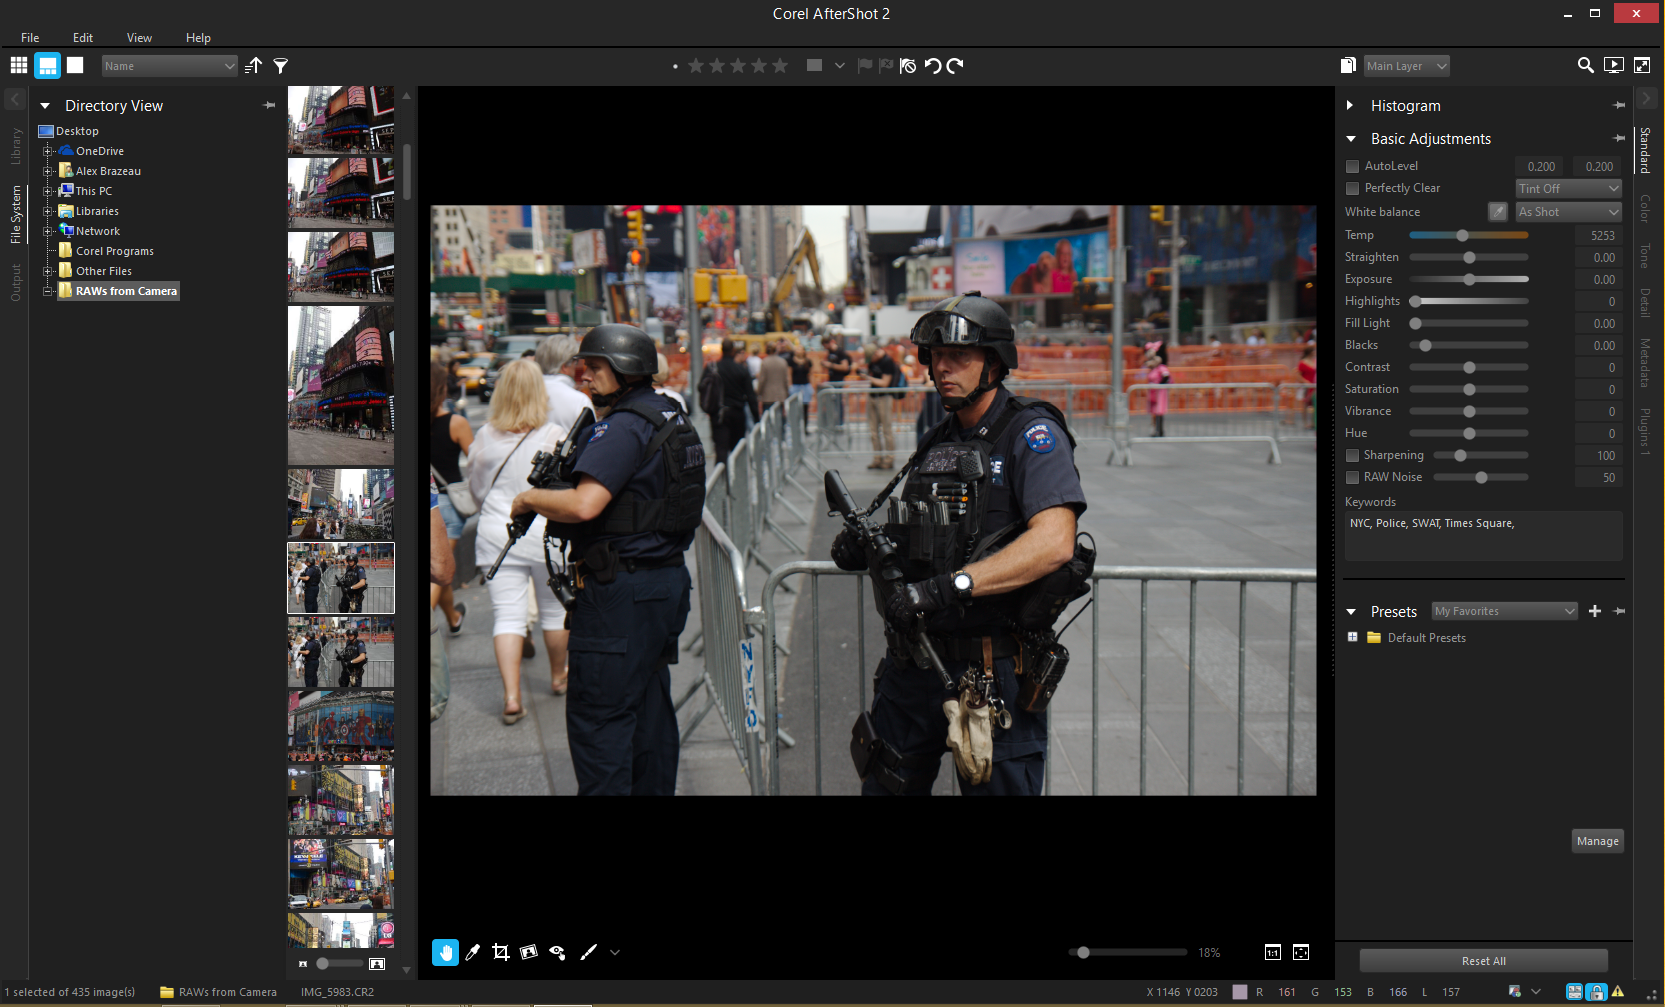
The large center Preview panel is where you’ll see an enlarged version of the selected thumbnail.
The Tools Panel
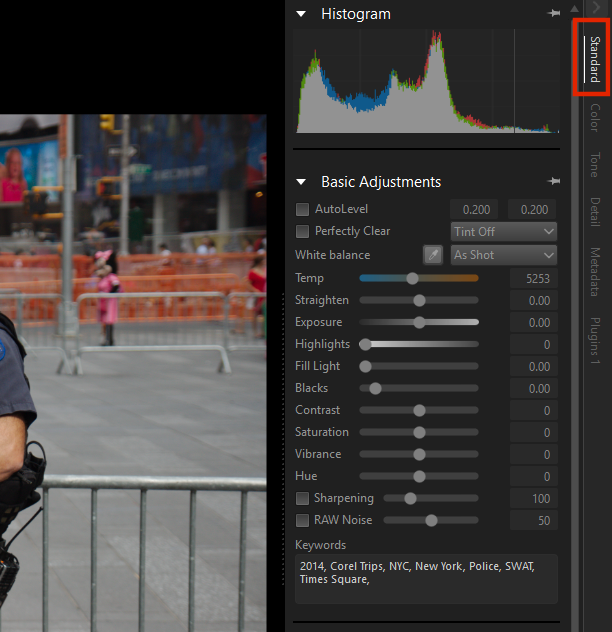
The Tools Panel presents sliders you can move to make photo adjustments in AfterShot 2.
Next, let’s take a look at the Tools panel, which is found directly to the right of the Preview window and has several tabs—set to Standard by default. This Standard tab holds the major tools used in most photo workflows. Settings can be changed by using the sliders or by entering a numerical value in the box next to the slider. You can also add keywords to help keep your photos organized. If you’re looking for more granular control over your adjustments, you can change the tab by clicking Color, Tone, Detail, Metadata or Plugins to access the corresponding controls.
When you are finished editing a photo, you can simply move on to the next, or you can save your changes as a new version (an entirely new file). This means you capture the edits as a variation of the original file.
Outputting Your Photos
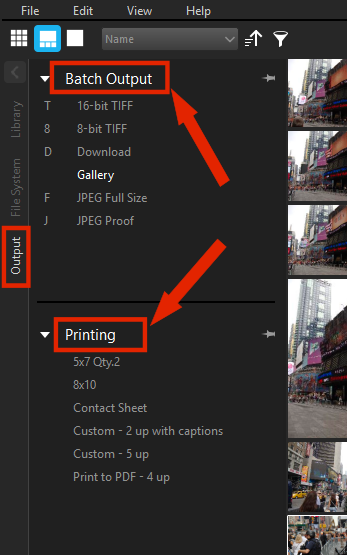
You can batch output your files in various formats or save them in a standard size for print.
Once you’ve finished making your edits, it’s time to output your photos for sharing. Outputting allows you to save your photos to a standard file format so they can be shared on the Web, via email, or for use in other applications. You can also output your files to print. There are a number of standard output choices, called batches, that let you output quickly, but you can also create a custom batch. For example, you can choose file type, quality, color space, and image size. You can also set a naming convention to rename the files when they are output and you can apply presets.
To output your photos, select one or more from the Thumbnail panel and click Output on the far left-hand side (see image). Next, select an output file type or print size. Then just follow the onscreen prompts and you’re all done!
Stayed tuned!
Check back again later in the week for the second installment of our four-part AfterShot series here at Macstock 2015 for a chat with Greg Wood, AfterShot’s Senior Product Director. Until then, stay sharp & keep shooting!
Cheers,
Alex